

QuickBooks electronic signature capture is a frustrating experience.
QuickBooks’ Online native electronic signature capabilities cover the basics, like collecting a signature on an estimate or invoice, but stop well short of what most businesses actually need. No workflows, no audit trails, no way to send and track contracts in one place.
That gap can be a serious problem. Sales contracts, vendor agreements, HR onboarding forms, and client proposals all need signatures. When your team has to jump between QuickBooks and separate tools to collect those signatures, things slow down, and mistakes happen.
This article covers where the platform falls short, how to add a signature in QuickBooks Online using third-party integrations, and why SignWell is the first and most seamless native solution for teams who need more.
Does QuickBooks Online Have Electronic Signatures?
No, QuickBooks Online does not have a native signature capture feature. If you want robust eSignature tools, you need to integrate a third-party app like SignWell, the best electronic signature software.
That said, QuickBooks offers an in-person feature in the mobile app for collecting signatures on estimates and invoices. Customers are forced to sign with their finger. This isn’t enough for most businesses. There’s no remote signing, no audit trails, no templates, and no way to send standalone contracts for signature.
SignWell Integration with QuickBooks Online for Easy Electronic Signatures
The SignWell and QuickBooks integration allows you to send documents for electronic signature directly from your QuickBooks dashboard. Unlike third-party tools that require manual document transfers, SignWell simplifies the process with seamless data flow between both platforms.
Key features of the integration include:
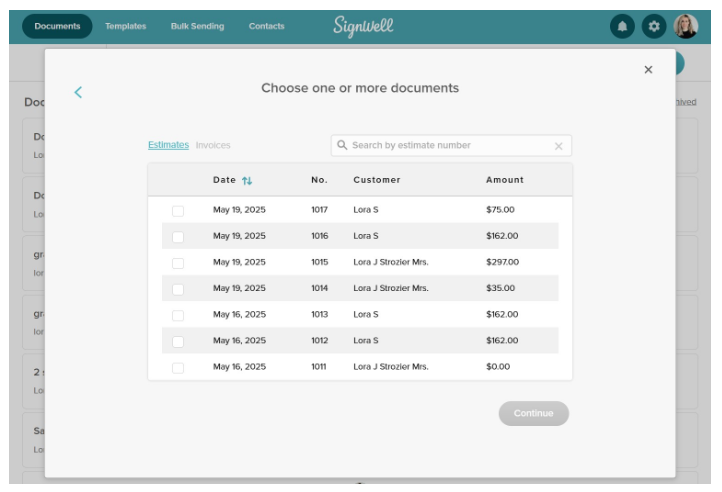
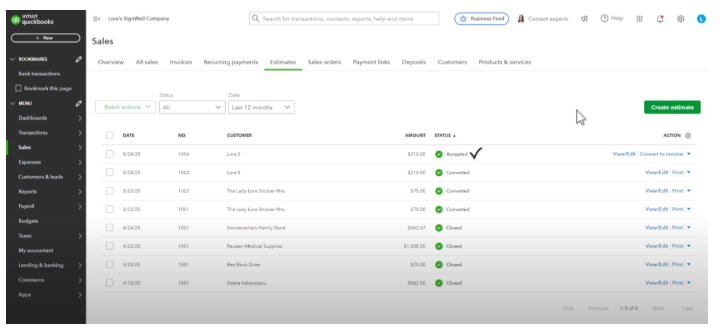
- Estimate Approvals: Send QuickBooks estimates for signature and automatically convert them into invoices once approved. No manual data entry necessary.
- Invoice Processing: Streamline invoice approvals and contract signatures without leaving QuickBooks.
- Real-Time Tracking: Monitor the signing status directly from QuickBooks without switching platforms.
- Automated Workflows: Set automatic reminders and follow-ups to reduce time spent chasing signatures.
SignWell also meets SOC 2 Type II certification, ensuring all signatures are secure, legally binding, and fully auditable.
How to Add a Signature in QuickBooks Online with SignWell
If you need a QuickBooks electronic signature, you’ll need to integrate the platform with SignWell. Let’s walk through the steps to set up the integration and send your first document for eSignature.
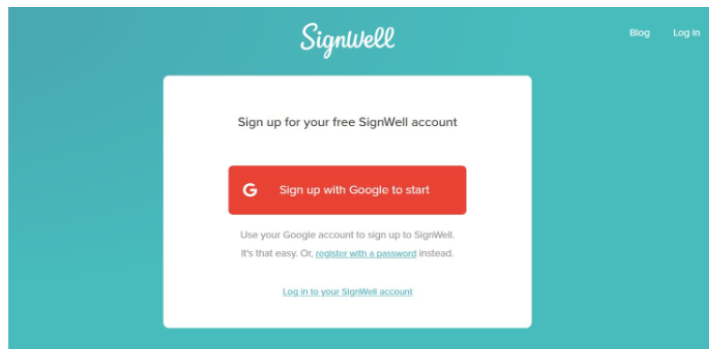
1. Create Your SignWell Account
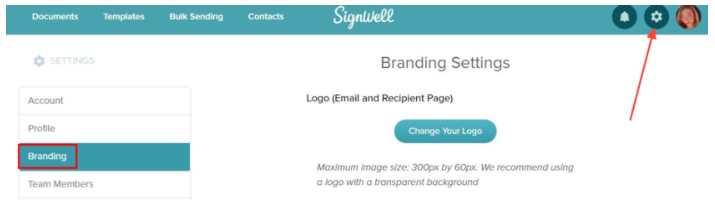
If you don’t already have a SignWell account, head over to the SignWell website and sign up. You can register with your Google account for quick access or use an email and password. Once logged in, it’s worth taking a few minutes to customize your profile.
Branding: Upload your company logo so it appears on all outgoing signature requests.
Email Details: Update the “From” name in recipient emails to show your business name, making your requests look professional.
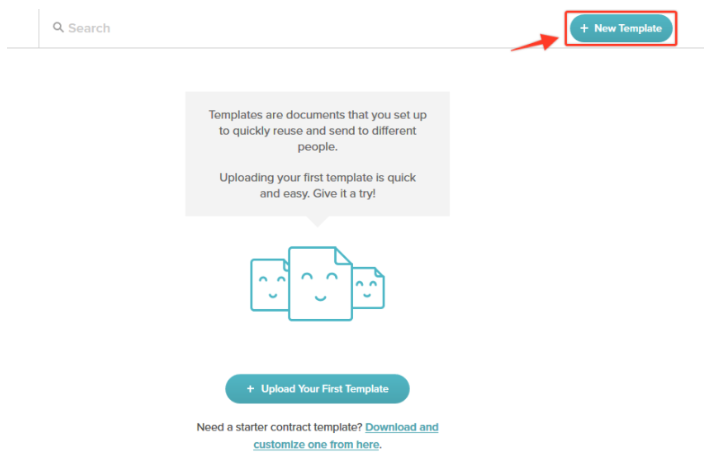
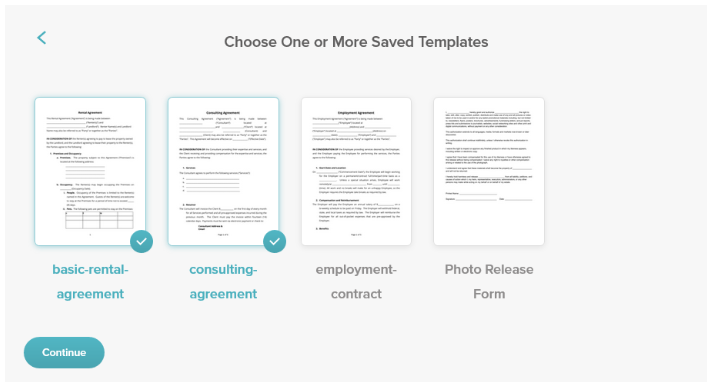
Templates: If you frequently send the same document, such as a client agreement or NDA, create it in SignWell once with all necessary fields. You’ll be able to reuse it whenever needed.
This preparation ensures your integration with QuickBooks will be smooth, and your documents will look consistent from the start.
2. Set Up Your QuickBooks Online Account

Before connecting to SignWell, make sure QuickBooks Online is ready to go. Log in and confirm that your account is set up with the correct company information. You’ll also want to:
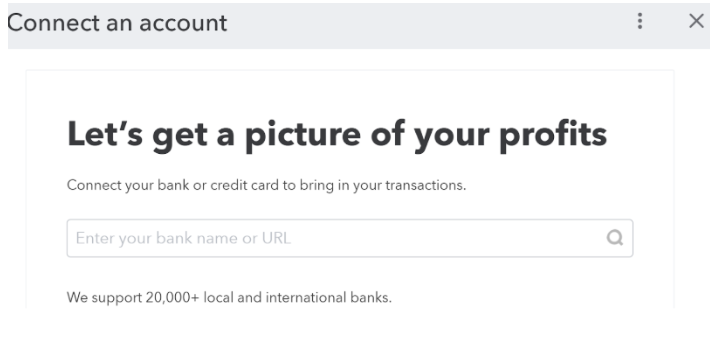
Connect your bank accounts to QuickBooks for easier payment tracking.
Set up your preferred payment methods so invoices can be paid right from the signature request if needed. Customize your invoice and estimate templates with your company branding for a cohesive client experience.
The more complete your QuickBooks setup, the more seamless your signing workflow will be later.
3. Connect SignWell with QuickBooks Online
With both accounts ready, you can link them:
Go to the QuickBooks App Store and search for SignWell.
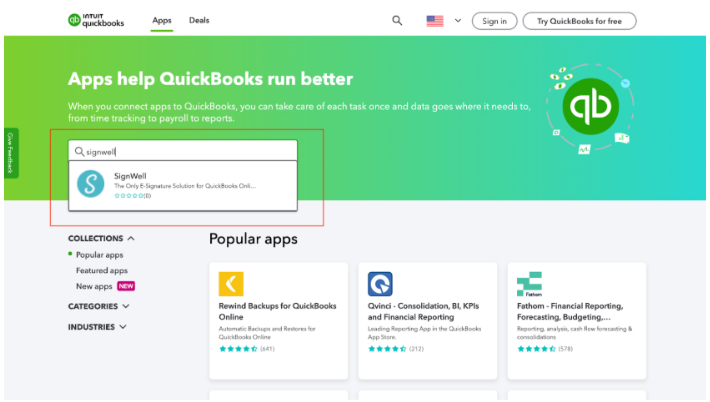
Click Get App Now and log in using your QuickBooks credentials.
Approve the connection to allow the two platforms to share information securely.
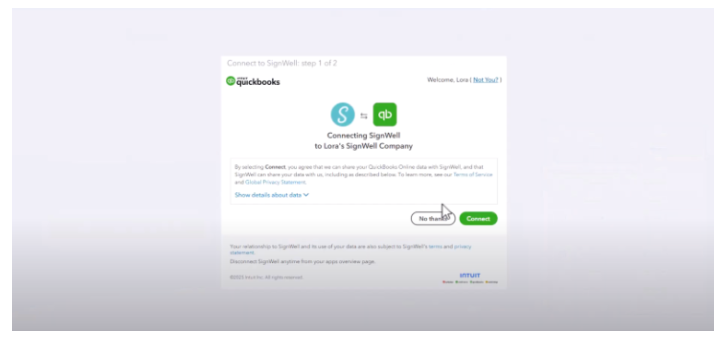
This integration lets SignWell pull client and document data directly from QuickBooks, so you don’t have to re-enter information. It also ensures that completed, signed documents can be stored alongside your accounting records.
4. Sending Documents for Signature from QuickBooks
Once connected, you can start sending documents for eSignature without leaving QuickBooks. For example, if you’ve just created a new estimate:
In QuickBooks, open the estimate and choose Send for eSignature with SignWell from the available actions. SignWell will automatically import the client’s details into the recipient fields.
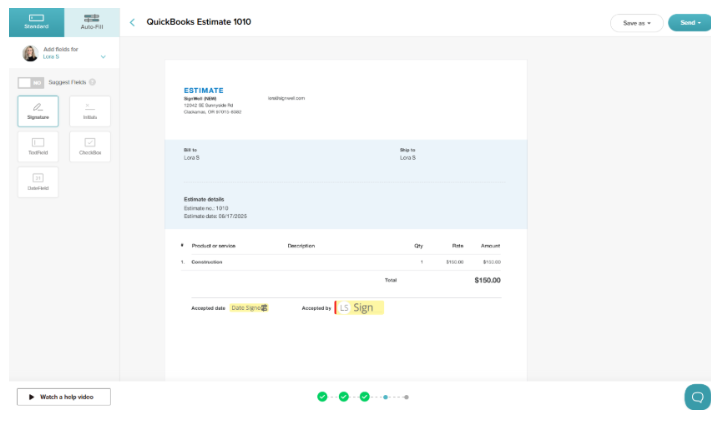
Drag and drop signature fields, date fields, or initials onto the document as needed.
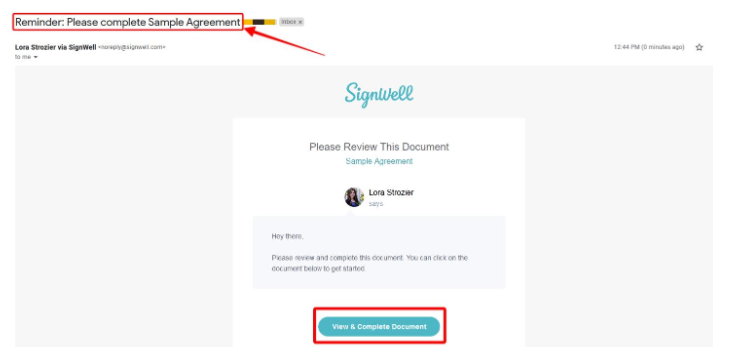
Click Send, and your client will receive a secure email link to review and sign the document online.
This process works for a variety of business documents, proposals, waivers, policy updates, contracts, and more.
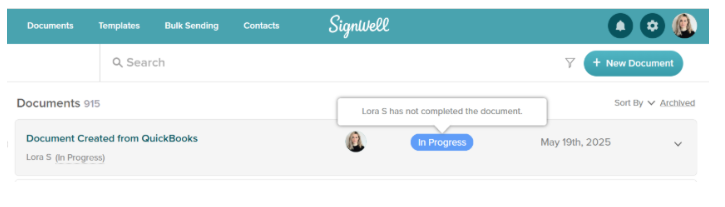
5. Tracking Signatures and Document Status
After sending, you can track progress from your SignWell dashboard. The status will show whether a document is pending, in progress, completed, or overdue. If a client hasn’t signed by the due date, you can send an automatic reminder with just one click.
When the document is signed, SignWell provides a complete audit trail, including timestamps, IP addresses, and signer details. This is useful for compliance and recordkeeping. You can also download the signed document and re-upload it into QuickBooks for permanent storage, keeping all financial and legal records in one place.
6. Tips for a Smooth QuickBooks–SignWell Workflow
To get the most out of your integration:
- Test with a Sample Document: Before sending to a client, try a test run with your own email address to confirm branding, fields, and formatting are correct.
- Use Templates for Speed: For frequently used documents, set up SignWell templates so fields are already in place when you send.
- Combine with Bulk Sending: If you need the same document signed by multiple people, like updated policies or annual agreements, SignWell’s bulk sending feature lets you send a single file to multiple recipients with personalized fields.
By integrating SignWell with QuickBooks Online, you’re not just adding convenience; you’re building a more professional, organized, and efficient document management system.
7 Main Benefits of Integrating an eSignature Solution with QuickBooks Online
QuickBooks Online handles your finances well, but when you connect it with an eSignature solution like SignWell, the whole system becomes stronger. Documents move faster, there’s less manual work, and your clients get a smoother experience. Here is what that looks like in practice.
1. Faster Approvals and Sales
Every day a contract sits unsigned, revenue is delayed. With SignWell connected to QuickBooks Online, you can send documents for signature in minutes and get them back just as fast. Automated reminders do the follow-up for you, so deals close faster without your team having to chase anyone down.
2. Improved Cash Flow
Signed documents trigger the next steps in the workflow. When an estimate gets approved, an invoice can go out the same day. When a contract is signed, payment terms kick in immediately. Removing the gap between agreement and action means money moves into your business faster.
3. Automated Workflows
Manual handoffs slow everything down. SignWell automates the steps that used to require remembering. Documents are routed to the right people, reminders go out on schedule, and completed files automatically land in the right place in QuickBooks.
4. SOC 2 Compliance
Security matters when you are handling client contracts and financial agreements. SignWell meets SOC 2 Type II standards, which means your documents are stored securely, every action is logged, and you have a full audit trail for every signature. That level of documentation protects your business and instills confidence in clients.
5. Better Customer Experience
Nobody wants to print, sign, scan, and email a document back. A clean, mobile-friendly signing experience makes your business easier to work with. Clients can sign from anywhere in seconds, and that kind of friction-free experience leaves a better impression than a PDF attachment ever will.
6. Fewer Errors and Cleaner Records
When documents and financial records live in separate places, errors are bound to happen. A signature collected outside QuickBooks might never make it back to the right file. SignWell keeps everything connected, so signed agreements are automatically linked to the correct QuickBooks records. Your books stay clean, and your team spends less time fixing mistakes.
7. A Faster, Simpler Onboarding Process
New clients and vendors mean a lot of paperwork. Service agreements, NDAs, tax forms, and compliance documents all need signatures before work can begin. With SignWell and QuickBooks working together, you can send everything in one go, track what has been signed, and start new relationships without the usual back-and-forth.
6 Best Practices for Using SignWell with QuickBooks Online
SignWell’s integration with QuickBooks Online provides a solid foundation, but these best practices will help you get the most from it and ensure a smooth signing experience.
1. Build Templates You Can Actually Reuse
SignWell’s templates save loads of time. Set up your documents once with signature fields in the right places and clear instructions for signers. When you need to send a new agreement, it’s ready to go. Review them every few months and update anything that causes confusion.
2. Make the Signing Process Easy for Clients
Tell clients what to expect before you send anything. A quick heads-up goes a long way. From there, let automation do the work. Reminders go out automatically, and your team is notified when documents are signed.
3. Keep Your Documents Secure and Compliant
SignWell meets SOC 2 Type II standards, which means your documents are stored securely, and every action is tracked. Set permissions so only the right people can send documents, and ensure your process aligns with the electronic signature laws in your region.
4. Stay on Top of What Has Been Signed
Do not rely on memory or spreadsheets to track signed documents. You should immediately match completed agreements to the right QuickBooks records. Keep everything in a single central archive so that if a dispute ever arises, you can find what you need in seconds.
5. Let Automation Handle the Repetitive Work
When a client signs an estimate, SignWell can automatically trigger the next step, whether that is converting it to an invoice or sending a payment reminder. Client details sync across platforms, so your team doesn’t have to enter the same information twice.
6. Send Documents That Look Like Your Brand
Add your logo, brand colors, and standard disclaimers to every template. Clients are more likely to trust and act on a document that appears to come from a real business rather than a generic platform. It is a small detail that makes a real difference.
7. Use the eSignature API for Custom Workflows
If your business has processes beyond standard integration, SignWell’s eSignature API gives you the flexibility to build whatever you need. It is a good option for operations and IT teams who want more control without having to manage a separate signing platform from scratch.
Close Deals Faster with eSignatures in QuickBooks
SignWell connects directly to QuickBooks Online, so your documents are signed, tracked, and stored without the back-and-forth. No more manual follow-ups or lost paperwork. Just faster approvals and cleaner records.
Your team gets automated reminders and real-time tracking, and every signed document is automatically linked to the correct financial record. It takes minutes to set up and works the way your business already does.
Try SignWell free and see how much faster your QuickBooks workflows can move.